Vision Assist for Obstacle Avoidance
Even though the DJI Mini 4 Pro has full 360 degree obstacle avoidance, it can still be spooked by things like tiny branches or power lines. Luckily there is a way to double check for obstacles yourself: Vision Assist. Vision Assist allows you to see a real-time black-and-white image of what each obstacle avoidance sensor sees. To enable Vision Assist, swipe over the radar/map in the bottom-left corner of your screen, until you see the black-and-white Vision Assist image. Use the arrows over the image to switch to different obstacle avoidance sensors. If you tap the image, It will appear full screen. What’s more: it will even automatically switch to the sensor in the direction you’re flying!
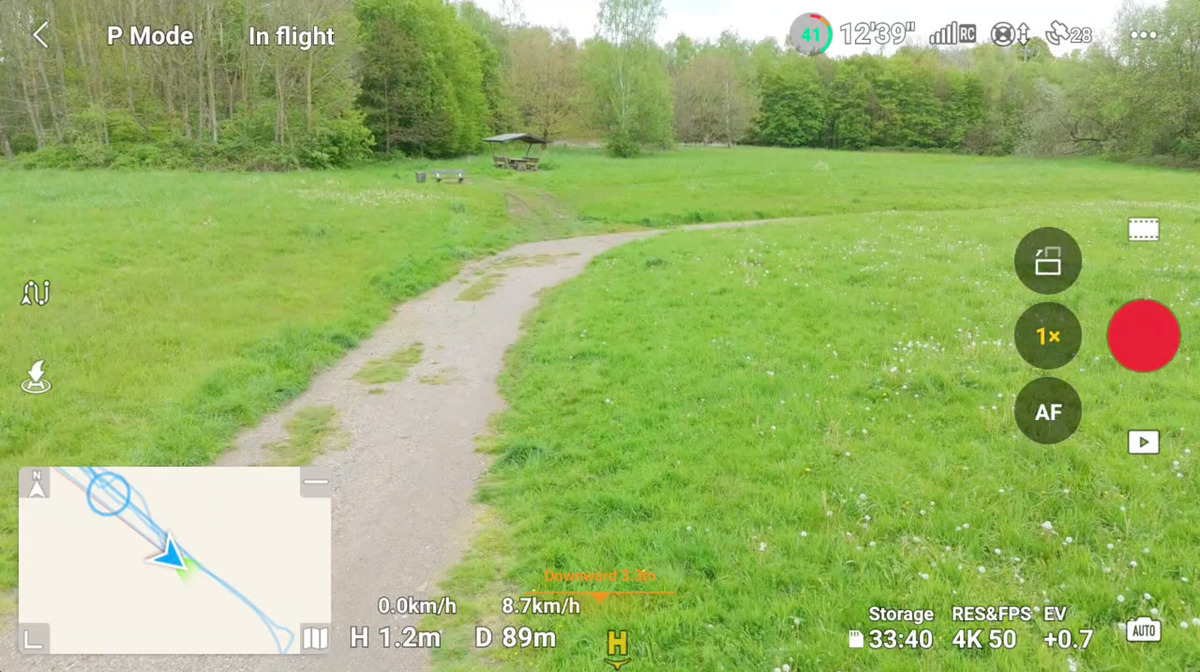
Another thing to keep in mind is that obstacle avoidance also displays colored lines on top of your image once you get closer to an object (and in the direction of that object). If the drone is between 5 and 2.2 meters from an obstacle, the overlay turns yellow, and if it’s any closer than that, it turns red.
 Downward obstacle sensor warning
Cruise Control
One of the most useful new features on the DJI Mini 4 Pro is without a doubt Cruise Control. Cruise Control will automatically continue in the direction the drone was heading in (and at the same speed), without you having to hold the control sticks. While Cruise Control might seem gimmicky at first, I found it actually leads to much smoother shots than flying manually. Cruise Control is better at keeping the speed and direction constant, even if you have the steadiest of hands.
Not having to control the drone all of the time also allows you to check on the drone’s position in the sky more often or plan ahead for the next shot, while the drone is finishing the current shot.
To enable cruise control, click the three dots in the top right corner and then click on:
Control > Button Customization > C1/C2 > Cruise Control
Now all you have to do is move your drone in a certain direction using the control sticks, then press C1/C2. You can now let go of the control sticks, and Cruise Control will continue flying the drone in that same direction at the same speed. Obstacle avoidance stays active during cruise control, but as always do keep an eye on your drone.
48MP stills…?
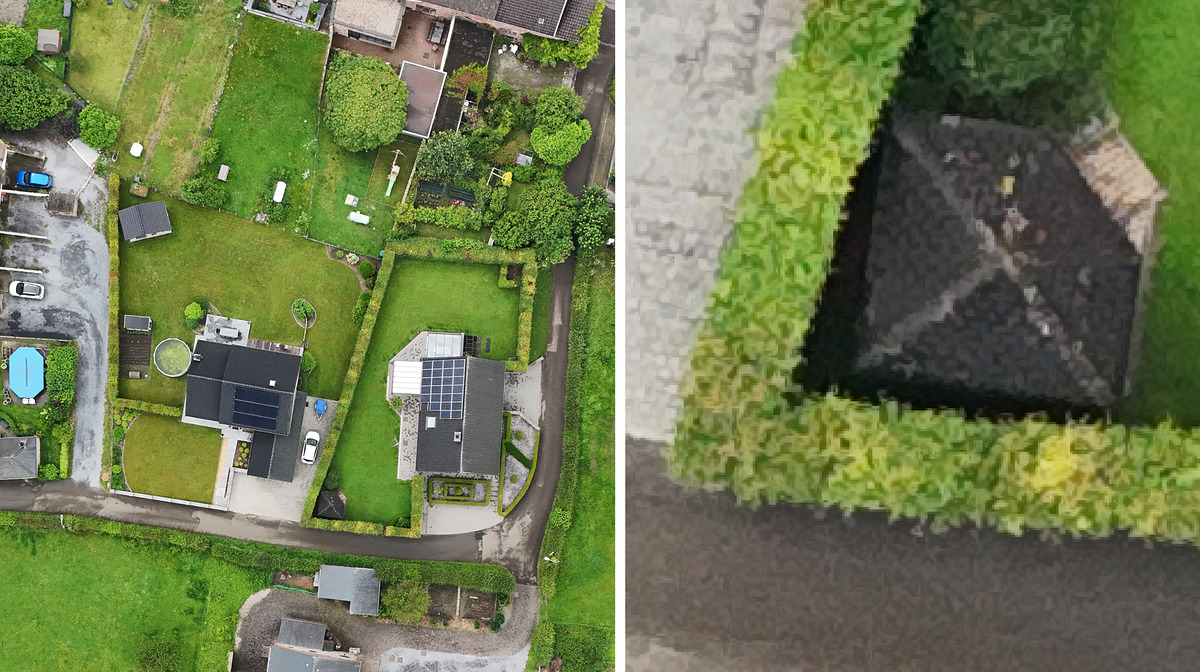
The DJI Mini promises to shoot 48MP stills, which -in theory- is a big upgrade over the 12MP stills found in earlier DJI drones. The drone still has a 12MP sensor, but is able to split each pixel in to 4 pixels, creating a 48MP final image. Kind of. By splitting each pixel, you do get a little more perceivable resolution, but you do lose a lot of color fidelity. Images look harsher, more digital and with less depth to the image. They certainly have less ‘mojo’ than the 12MP stills. And when zoomed in, you get the same ‘vectorized’ look that some upscaling-apps can give you. For things like drone-mapping or zooming in on landscape-shots the 48MP mode is very valuable, but for scenic photos I mostly stick to the 12MP mode.
 Vector-like image detail when zoomed in
Forgot your SD-card?
I hate to admit it, but I’ve forgotten my SD-card more than once. Although the DJI Mini 4 Pro does come with internal storage, it’s a meager 2GB, which will only give you a maximum of 3 minutes of record time in 4K 10 bit… Switching to Full HD will give you approximately 12 minutes of record time. If you’ve just travelled to that unique and remote spot, only to find out you forgot your SD-card there is one other way to still record some footage: the screen-capture function. This will record a 720P video with overlays onto your controller’s internal storage (8GB, DJI RC 2 only). Of course, that’s far from ideal, but at least you can prove you were there ;-) To enable screen recording:
Swipe down from the top of the screen an press “record screen”
Get the right screwdriver…
You’d think the tiny screwdriver that comes with the DJI Mini 4 Pro has the right size for replacing the props on the drone, right? Well, as it turns out, the screwdriver is too big! Using the included screwdriver might actually damage the screws… Even DJI themselves have now acknowledged this, and recommend you buy another screwdriver…
The right screwdriver? Philips #000
